Before you start
You need Plicsy installed and activated in a supported version of Photoshop on an Apple-silicon Mac. Follow the installation guide if this is your first time. Activation and each export require an internet connection.
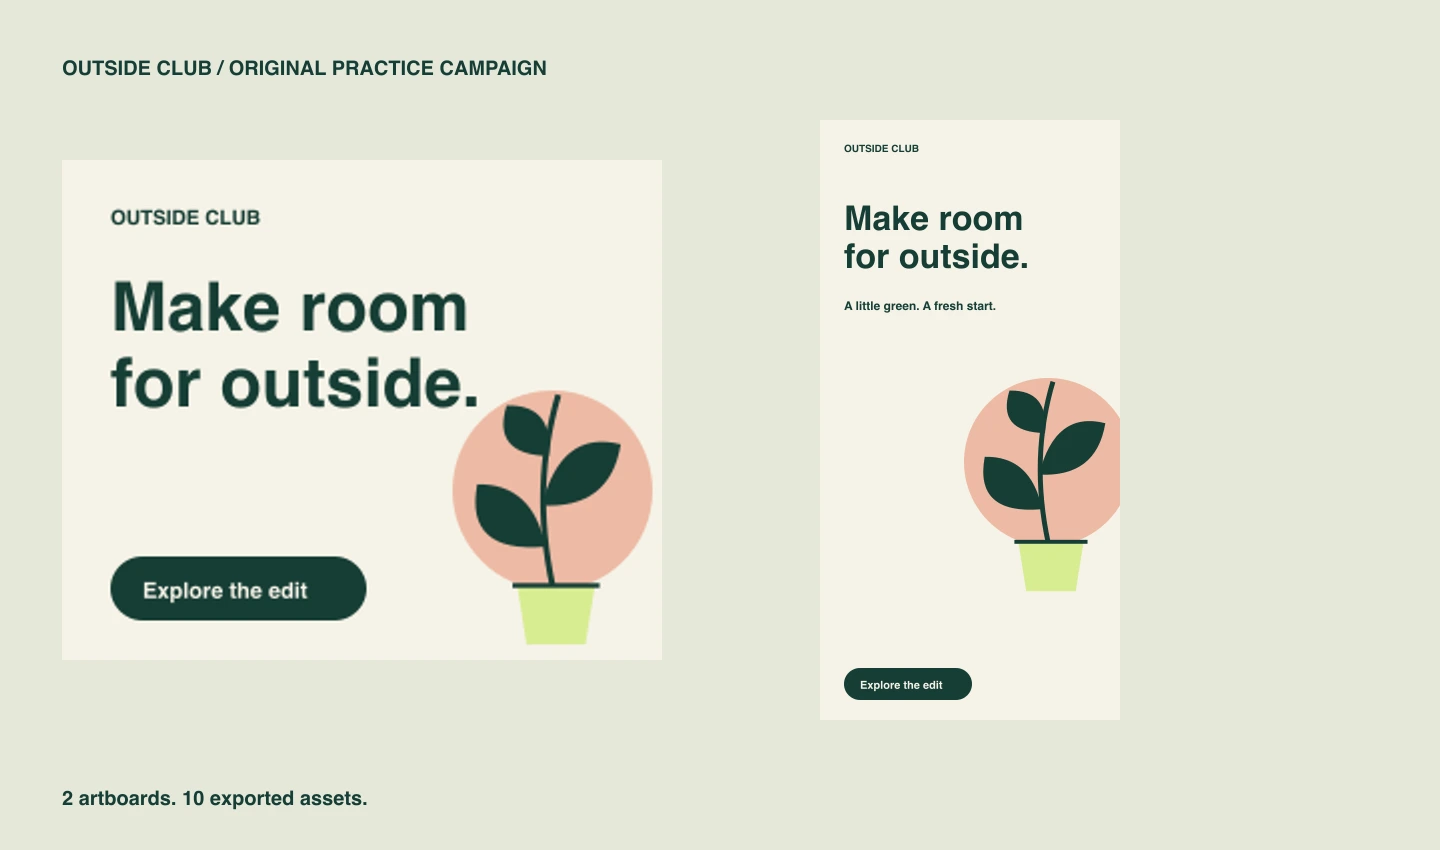
Download the PSD above and put it in a folder you can write to. The sample is an original, fictional “Outside Club” campaign, with 300 × 250 and 300 × 600 artboards. The artwork is self-contained: no linked images or missing fonts. Text is rasterized on separate layers, so you can move it or replace it with your own type.
1. Read the layer names
Open first-exports.psd in Photoshop and expand either artboard in the Layers panel. Each has this structure:
300x250.png                 ← artboard
  cta.png                   ← group
    button label
    button shape
  headline.png
  plant.png
  background.jpg
A filename extension tells Plicsy to export that layer, group, or artboard. plant.png becomes a PNG with transparency. background.jpg becomes a JPEG. Naming the group cta.png exports its button shape and label together. Its children have no filename extensions, so they do not become separate files.
The artboard name 300x250.png requests an image of the whole composition. The artboard’s actual geometry determines its dimensions; a size written in a plain filename does not resize the artwork.
2. Check three settings
Open Plicsy from Photoshop’s Plugins → Plicsy menu. In the panel menu, open Settings and enable:
- Export beside PSD — put the images beside this saved sample.
- Use full artboard size — preserve the artboard canvas around individual layers and groups.
- Use artboard folders — keep identically named assets from different artboards separate.
With full-artboard sizing on, headline.png from the square artboard is 300 × 250 pixels, including its transparent space. This keeps its placement useful when assembling a banner. Switch this setting off when you want a tightly cropped asset instead; leave it on to reproduce this tutorial.
3. Click Export All
Click Export All in the Plicsy panel. Wait for the run to finish, then open the folder containing your PSD. You should see a new first-exports folder and a first-exports.txt report.
first-exports/
  300x250.png
  300x250/
    background.jpg
    cta.png
    headline.png
    plant.png
  300x600.png
  300x600/
    background.jpg
    cta.png
    headline.png
    plant.png
That is ten image files: two complete artboards and four assets from each. Exporting does not save or alter the source PSD. Plicsy runs when you click Export All; it does not continuously regenerate files while you edit.
4. Check the result and try a change
Open a complete artboard image and one transparent PNG. The complete image should match the visible composition. The PNG should contain only its named layer or group on an artboard-sized canvas. The accompanying TXT report should list 10/10 generated assets and no errors.
Try moving the plant on one artboard and click Export All again. Inspect the new plant and artboard images to see the change. You can export unsaved edits; saving your PSD remains a separate action.
If a file is missing, check its layer name and the report. An untagged layer is included in its parent’s composition but is not exported on its own. If files from different artboards collide, confirm that artboard folders are enabled and that each artboard has a unique name.
Next, use the same naming pattern across a larger campaign in the artboard-folders tutorial.