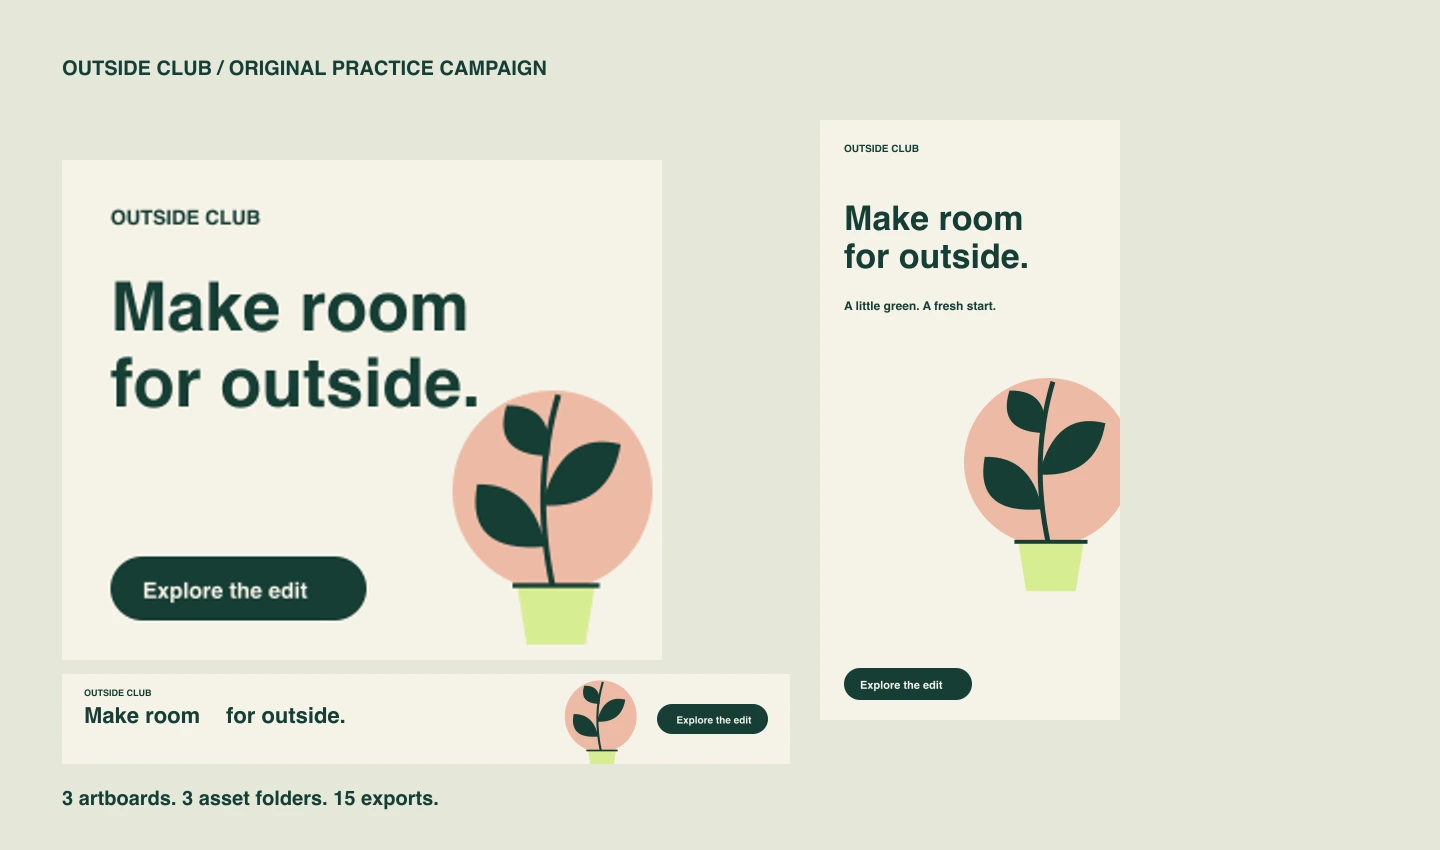
A campaign in three sizes
The practice PSD contains a fictional campaign in 300 × 250, 300 × 600, and 728 × 90 formats. Each artboard has background.jpg, plant.png, headline.png, and a cta.png group. The same names repeat because each banner needs the same kinds of assets.
Download artboard-folders.psd, save it locally, and open it in Photoshop. You need an activated Plicsy installation on a supported Apple-silicon Mac and an internet connection for export. New to naming layers for export? Start with your first Plicsy export.
1. Give each artboard its own name
The sample’s artboards are already named 300x250.png, 300x600.png, and 728x90.png. These names both request complete artboard images and provide folder names for the assets inside.
For your own document, choose unique names that describe the delivery. A plain artboard name such as summer-square can organize named child assets without requesting an artboard image through Export All. Adding .png also requests the complete composition.
For size-based names, Plicsy’s panel menu has Rename artboards by dimensions. This is optional: the sample is already named. The command replaces every artboard name with its actual dimensions and .png, including any existing paths or format tags. It is an editing action with a single Undo step. Equal-size artboards receive equal names, so give those unique names yourself.
2. Enable automatic artboard folders
In Plicsy’s Settings, enable Use artboard folders. Also keep Export beside PSD and Use full artboard size enabled to match this example.
For a bare filename such as headline.png, Plicsy uses the containing artboard’s name as its folder. The .png extension on the artboard is removed from the folder name. You do not need to write 300x250/ in each child layer name.
An explicit path such as shared/logo.png takes priority over automatic artboard folders. It exports to shared/logo.png, rather than nesting inside the artboard folder. Keep those paths unique when multiple layers export to the same destination. Document default tags with folders also take precedence; this sample has no default layer.
3. Export the campaign
Click Export All. Beside the PSD, open the new artboard-folders folder. Its structure should look like this:
artboard-folders/
  300x250.png
  300x600.png
  728x90.png
  300x250/
    background.jpg
    cta.png
    headline.png
    plant.png
  300x600/
    background.jpg
    cta.png
    headline.png
    plant.png
  728x90/
    background.jpg
    cta.png
    headline.png
    plant.png
You now have 15 image files: three complete compositions and twelve separate assets. With full-artboard size enabled, every child export uses its containing banner’s dimensions. The transparent headline and button images retain their positions on that canvas.
The complete artboard images sit next to the folders. This makes it easy to distinguish a finished banner from the pieces used to assemble it.
4. Update just one banner size
Select an artboard, or a layer inside it, in Photoshop. Open Plicsy’s panel menu and choose its selected-artboard export command, labeled with that artboard’s name. This exports the selected artboard and its named descendants.
For this sample, one selected artboard has five requested images. If you only need complete compositions, use Export Artboards instead; it skips separately named child assets.
Check artboard-folders.txt beside the PSD after a run. A full Export All should report 15/15 files. If the structure differs, check the destination settings, explicit paths, and any document defaults. Avoid turning artboard folders off while identical child filenames still repeat across the campaign.
For deliveries that also impose a maximum file size, continue with JPEG exports under a byte limit.